6 Steps That Will Save You Time With Album Design
When we first stated out, 5 year ago, album design used to take us forever. Between choosing the right photos, the layout and the flow, we spent hours on design time. We used to dread it. So we quickly buckled down and came up with a much simpler way to design our albums and still provided fabulous high quality products our clients love.
Surprisingly, wedding album prep starts even before the wedding day does. Crazy, I know, but a few little key points in advance will make life easier in the end.
1.) Market + Sell The Album During The Consultation
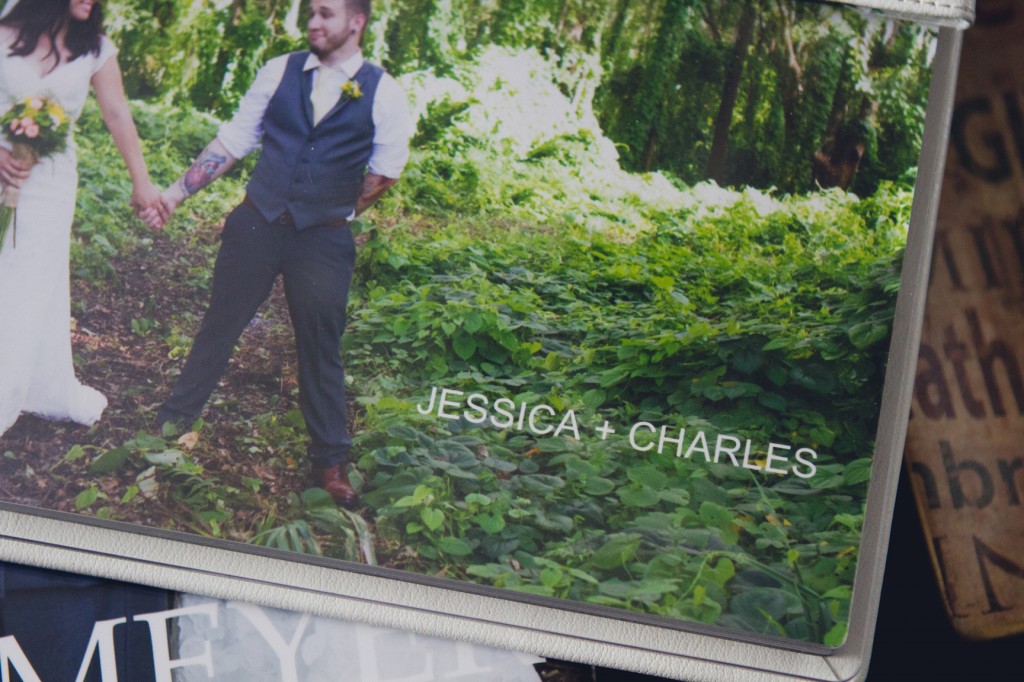
All of our wedding collections come with albums. For us its a great way to spread our business through “visual word of mouth” if you will. During our consultations (either in person or on Skype) we show our clients exactly what our albums look like. They get to hold, experience and best of all, visualize their own wedding album. We have our clients select their album size and style right there on the spot. When it comes time to designing the album we already have the size and style ready to go.
2.) Time Sync
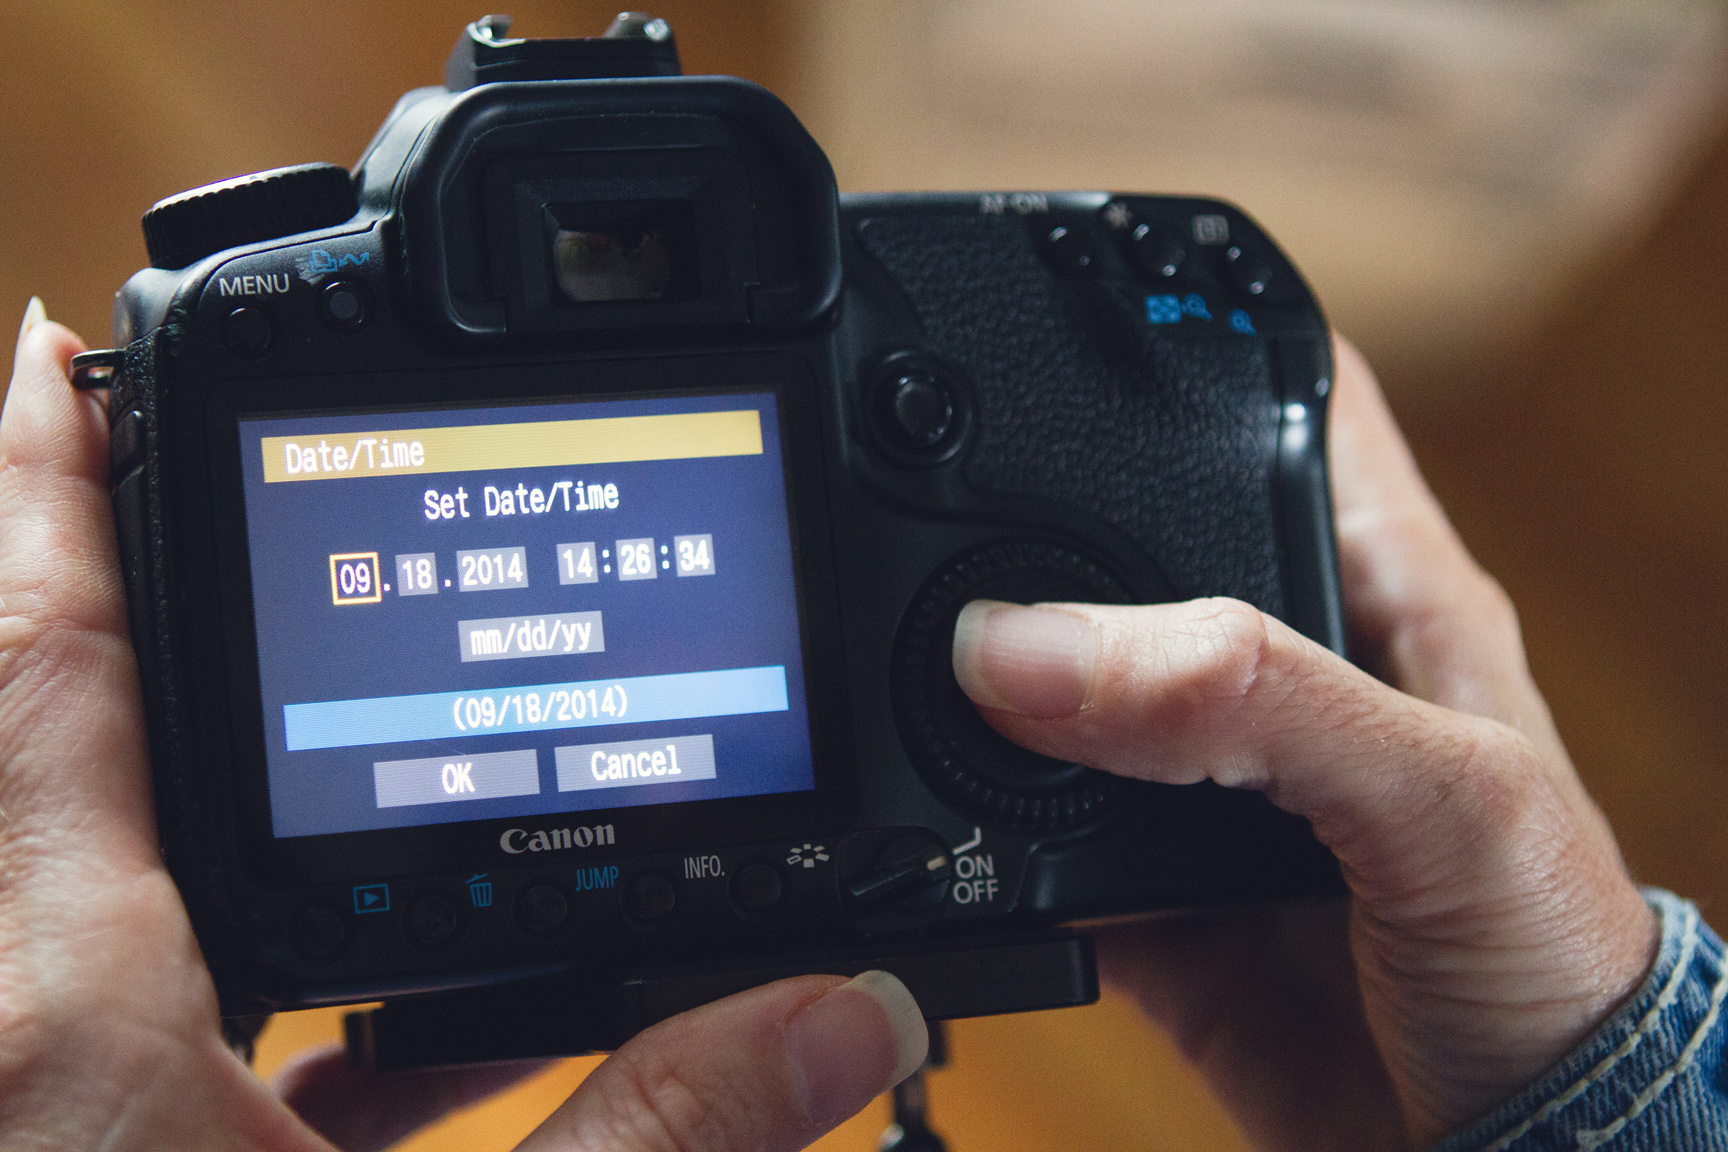
The morning of the wedding we always time sync our cameras. This is key to making sure the wedding day is documented in order. You don't want to waste time post-production putting photos in order because they are off by 2 minutes or more, No Fun.
3.) Start With The Details
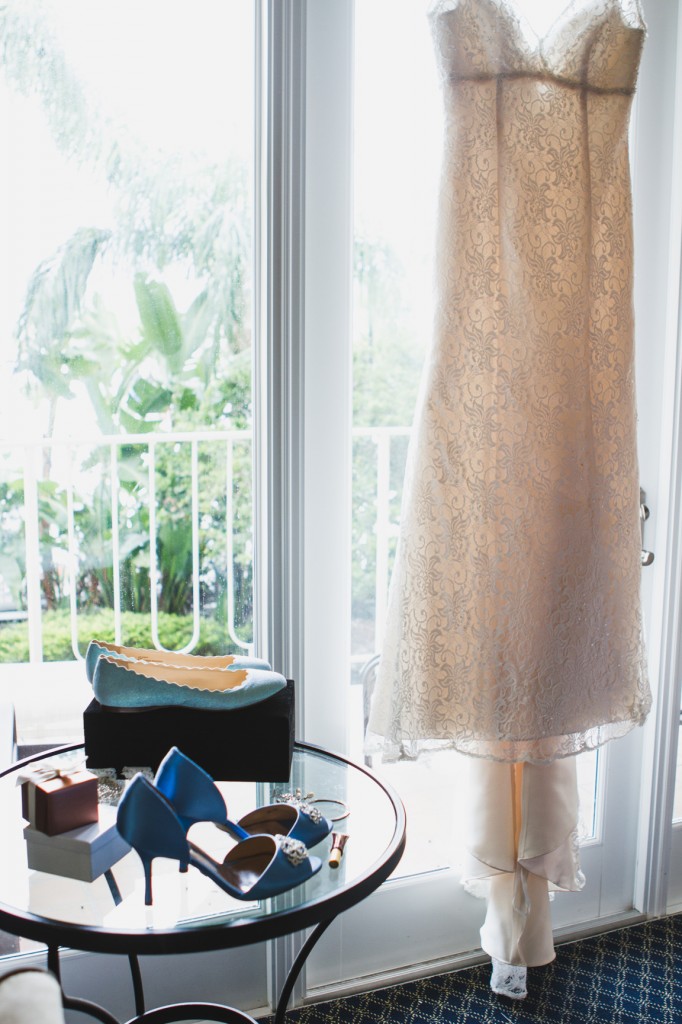
Before each main event of the wedding day we start with the details. This allows us to see timeline transitions quickly when culling and editing photos. For example, when we arrive at the wedding we first start with the brides dress, shoes, flowers, vows, invitations and so on, then, her getting ready photos. When Brandon gets to the groom he starts with all the groom's details: shoes, tie, boutonniere, etc. This is how we proceed for the entire day so once we get back to the office all of our photos will already be beautifully laid out “in camera” thanks to a little bit of prep and planning ahead.
4.) Create Gallery Collections
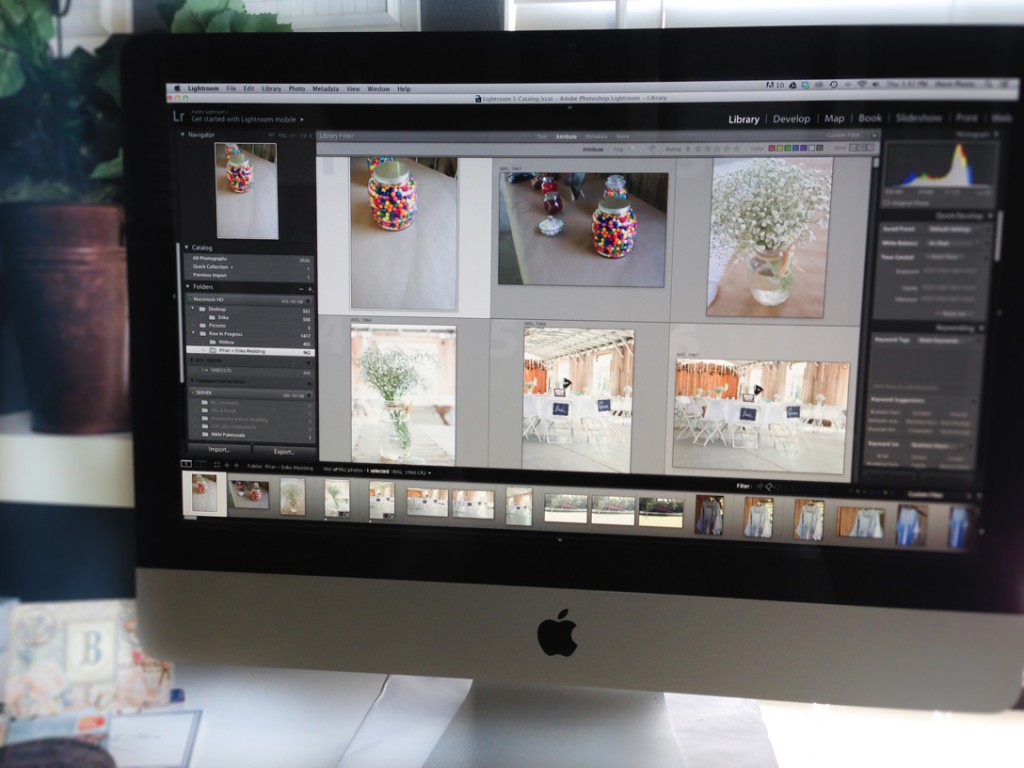
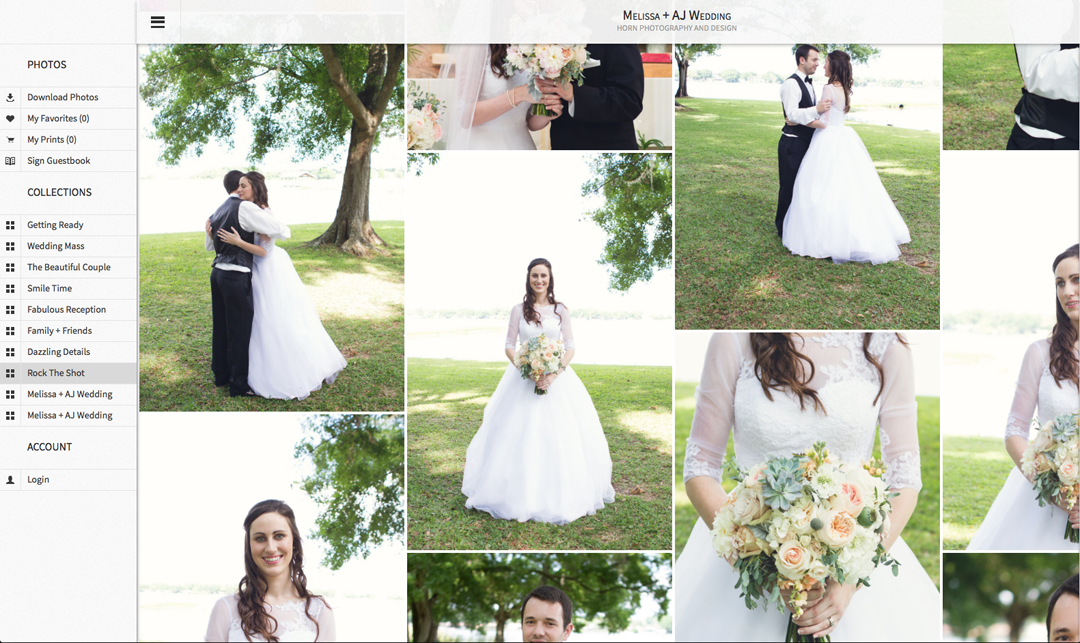
After the culling and editing is done we upload all the images to an online gallery. With-in the gallery we create collections: getting ready, first look, wedding party photos, ceremony, family photos, the beautiful couple, the reception and the details. This is super easy and takes only seconds thanks to visually separated photos with intro detail shots from the above step. We also create a category called “Rock The Shot” with our personal top 100 images from the day. We star these photos while in Lightroom when culling so they are super easy to separate out as well.
5.) Allow Clients To Select Their Wedding Album Images
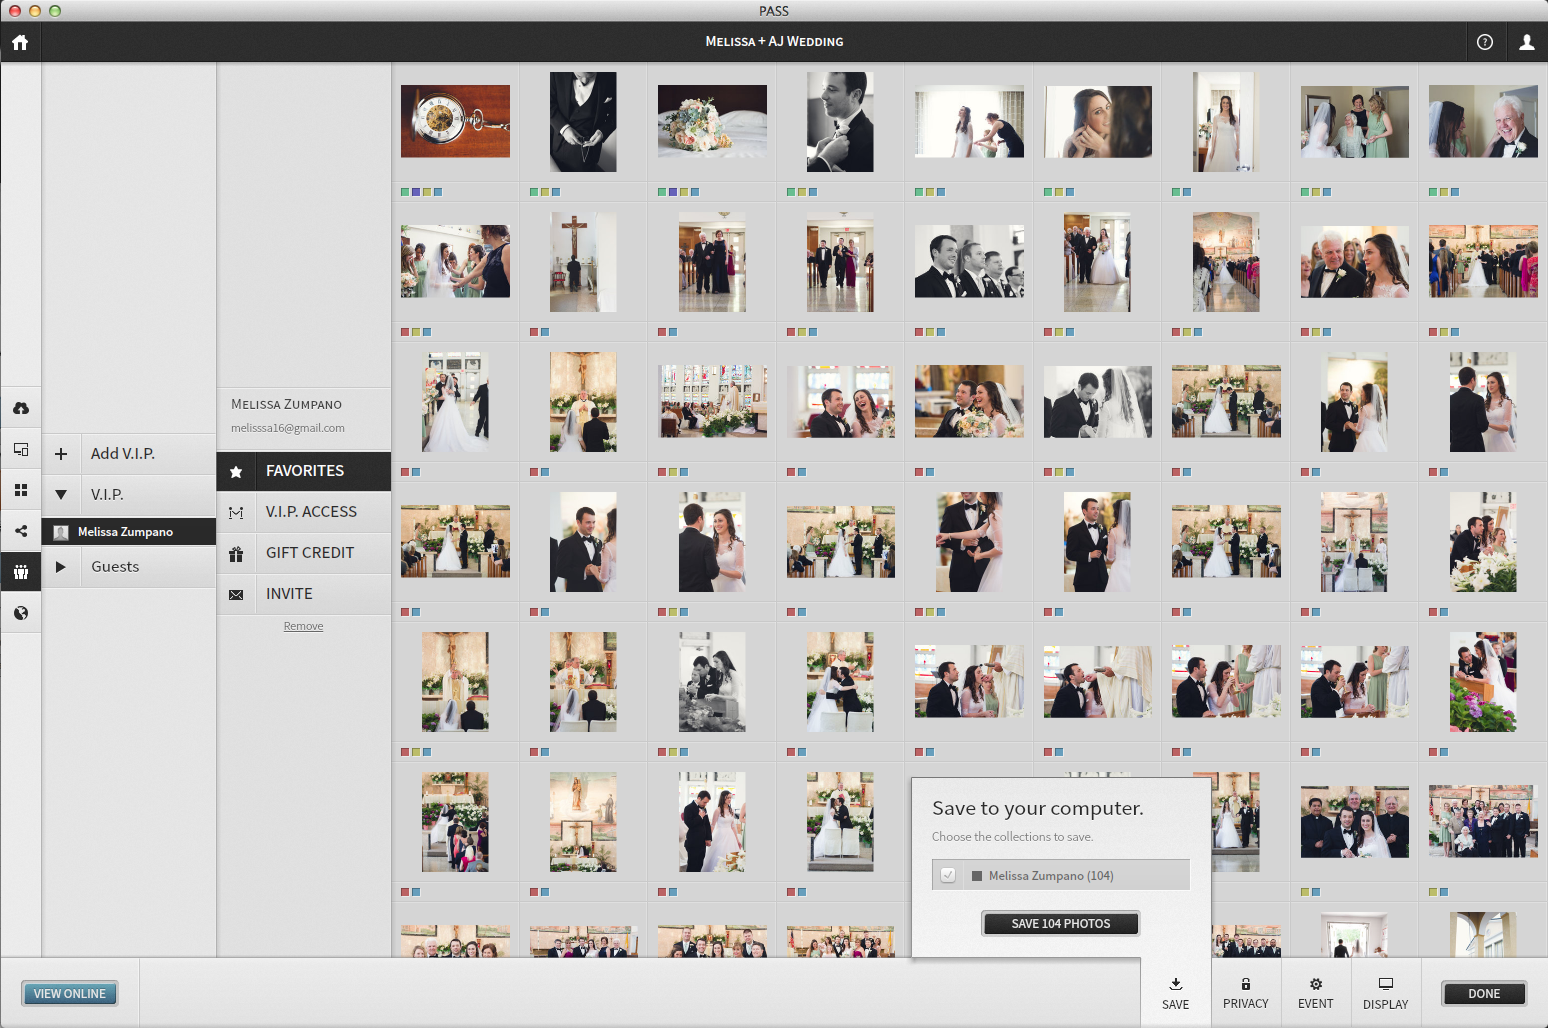
We personally are shoot + share photographers and love using Pass to host our clients photos. After our Pass Gallery is complete we release it to our clients via a grand reveal and explain to them how to use it. We ask our clients to select 60-80 favorite images (we choose 60 out of the 80 but 80 allows us some layout room). Pass offer the ability for our clients to select favorites and save them to a separate folder on the gallery, which we can then view and download in one easy click.
Over the years we have crafted an email we send out to our couples that helps to facility their images selection and makes the final design process much easier. In the email we ask for specific photos:
10-12 Romantic Photos – just the two of you
6-8 Getting Ready Photos of the Bride
6-8 Getting Ready Photos of the Groom
10-15 Ceremony Photos
8-12 Posed Wedding Party Photos
4-6 Family Photos
10-15 Reception Photos
Detail Shots To Include – Rings, Wedding Dress, Wedding Jewelry, Wedding Shoes, Invitations, Vows, Cake, Bouquet, Boutonnière and any sentimental details.
This email generates the photo selection we are looking for.
6.) Assemble The Album
This usually takes us about an hour, or two if we are multi tasking. At this point most of the work is already done, the images are in a beautiful timeline order, we have our client's favorite photo selections and the album size plus style is already selected. A few key points to layout:
- Keep It Clean – For a timeless look that won't go out of style keep the pages clean, no extra frilly designs, no key storks on images, and no weird overlapping of images.
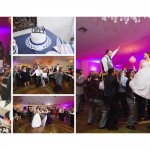
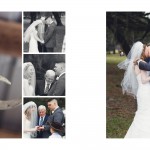
- Consistent Photo Element Layout – This takes the guesswork out of the layout. First Spread – Photo of Groom, Photo of Bride, Romantic Photo, Two Detail Photos that sums up the day.
Second Spread – Bride Getting Ready
Third Spread – Groom Getting Ready
Fourth Spread – First Look
Fifth Spread – Ceremony
Sixth Spread – Romantic Photos
Seventh Spread – Wedding Party Photos
Eighth Spread – Family Photos
Ninth Spread – Reception
Tenth Spread – Reception - Create Three Cover Templates Options – This is time-saving for us and also offers a visual for our clients so they know exactly what their cover will look like.
To put it all together we use SmartAlbums. SmartAlbums offers a Dynamic Album Design™ experience that is super fast and easy. We can change spread designs, add and delete images, and switch photos instantly. If you have not tried it check out their little video below and take it for a test drive.
SmartAlbums 1-Minute Demo from Pixellu on Vimeo.
And here is a video we made showing you step-by-step our time-saving tips. Enjoy

Start Your Free Trial
(Free for 14 days)
No credit card required
