Lightning Fast Culling with Quick Collections
Hours and hours of culling getting you down? It could be the way you are culling your images. Let me introduce you to my favorite tool in Lightroom, the Quick Collection.
Most know me as a Showit Designer with Earl & Layne, but I also own and operate my own photography business out of Gilbert, Arizona called My Camera Loves You. I started photography in high school back in the film days, majored in it in college (there was ONE digital photography class at the time where we had to scan in our film prints), and started shooting weddings my junior year of college, in 2000, again, on film. It took me quite a while to jump on the digital photography bandwagon from the buttery film photography that I learned with. With the introduction of Lightroom and better Canon digital cameras with larger RAW file capabilities, the door opened for me, and I decided that I could achieve a look that I loved with digital.
Because I started with a film background, I was a conservative shooter, making sure that every shot was perfectly framed, exposed, etc. As time went on, though, I have become a tad more lax, and shoot a bit more than I did when I was solely working with film, especially when working with children. With film and prints, it's easy to go through and pull out the ones you want and get rid of the ones you don't, not worrying about editing those images at all. With digital, culling became a dreaded part of editing, and I would kick myself for taking more shots than I used to because digital photography took longer than film photography in that aspect.
This all changed when I discovered Quick Collections in Lightroom. A quick collection is a way to quickly group images and view only those images that are added to the collection, forgeting the rest. You can have one quick collection at a time in Lightroom, which is fine because I only edit one session at a time (or else things could get overwhelming REALLY quickly). You can easily save your Quick Collections, giving them a unique name, enabling you to view them later on. Once you save your Quick Collection, it gives you the option to clear the Quick Collection (remember, it is saved for later under a unique name), enabling you to move onto the next session and Quick Collection.
Adding an image to a quick collection is really quick and easy, you can add any image by simply pressing the “b” key on your keyboard. Once you click the “b” key, a little gray dot will be added to the right corner of the image. Alternatively, you can just click the top right corner of the image, and it will add to the Quick Collection. I will typically go into the Develop module in Lightroom, use my arrow keys to quickly go from image to image, and click the “b” key to add any images that I think have potential from the session. Once I have added the images to my Quick Collection, I take note of how many images I have in there, and quickly view an overview in the Library module.
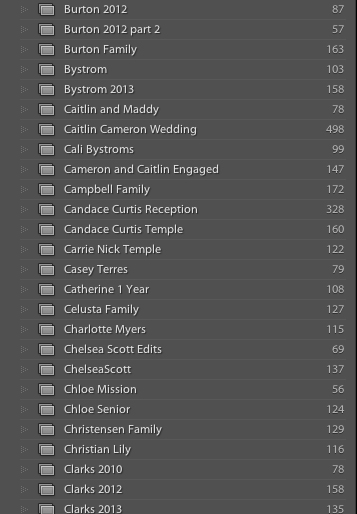
You can view the Quick Collection images by clicking on “Quick Collection” in the Catalog dropdown on the left side of the screen, under All Photographs.
If needed, I can add or take out images from a certain part of the session if I have too many in one area, or not enough coverage of a certain part. What a Quick Collection does is it separates out all of the images you don't want to see, and only shows you the ones that have potential to be included into the final edit of the session. Using this method, I have been able to cut my editing time for a typical portrait session down to about 20-30 minutes TOTAL. Because I am not messing around with star ratings or any other system within Lightroom, only focusing on the KEEP and REJECT images, much like I used to do with film prints, it has made my editing life much easier.
Once culled, I apply my own presets, color first, to all images, then select a few to change over to a warm black and white, export the session, upload to my gallery and deliver to my client. Using Quick Collections has helped me to cut time out of a potentially daunting editing process, allowing me to deliver images faster (cue happy clients!) and take on more sessions because I don't have a ton of editing built up in my queue.
I hope these tips can help you to cut time out of your editing process and have more freedom in your life because seriously…who doesn't need more of that?
Here is a handy tutorial on Quick Collections from Adobe themselves that you can check out for more information: VIEW IT HERE

Hi! I'm Jihae Watson! I was born in Seoul, grew up in Toronto, Ontario and now live in Gilbert, Arizona. I love all three cities so very much as I have plenty of family, and favorite restaurants in all three locations.
I am married to a stud named Chris, and we have four fantastic kids. Together we love being a foster family, and we presently have the sweetest little foster babe.
Start Your Free Trial
(Free for 14 days)
No credit card required
